
After talking to my mom she informed me that there are a lot of tutorials to recovering your ironing board on the internet, I should of probably read a few of them. . . it would of saved me some time, I still decided that I would post about my experience, just if you care to learn from it.

My cover had a string around the edge that you just pulled tight. I decided that this would be easy to recreate so I just pulled the string out so I could re-use it.
I then layed my cover down on the right side of the fabric and cut it out.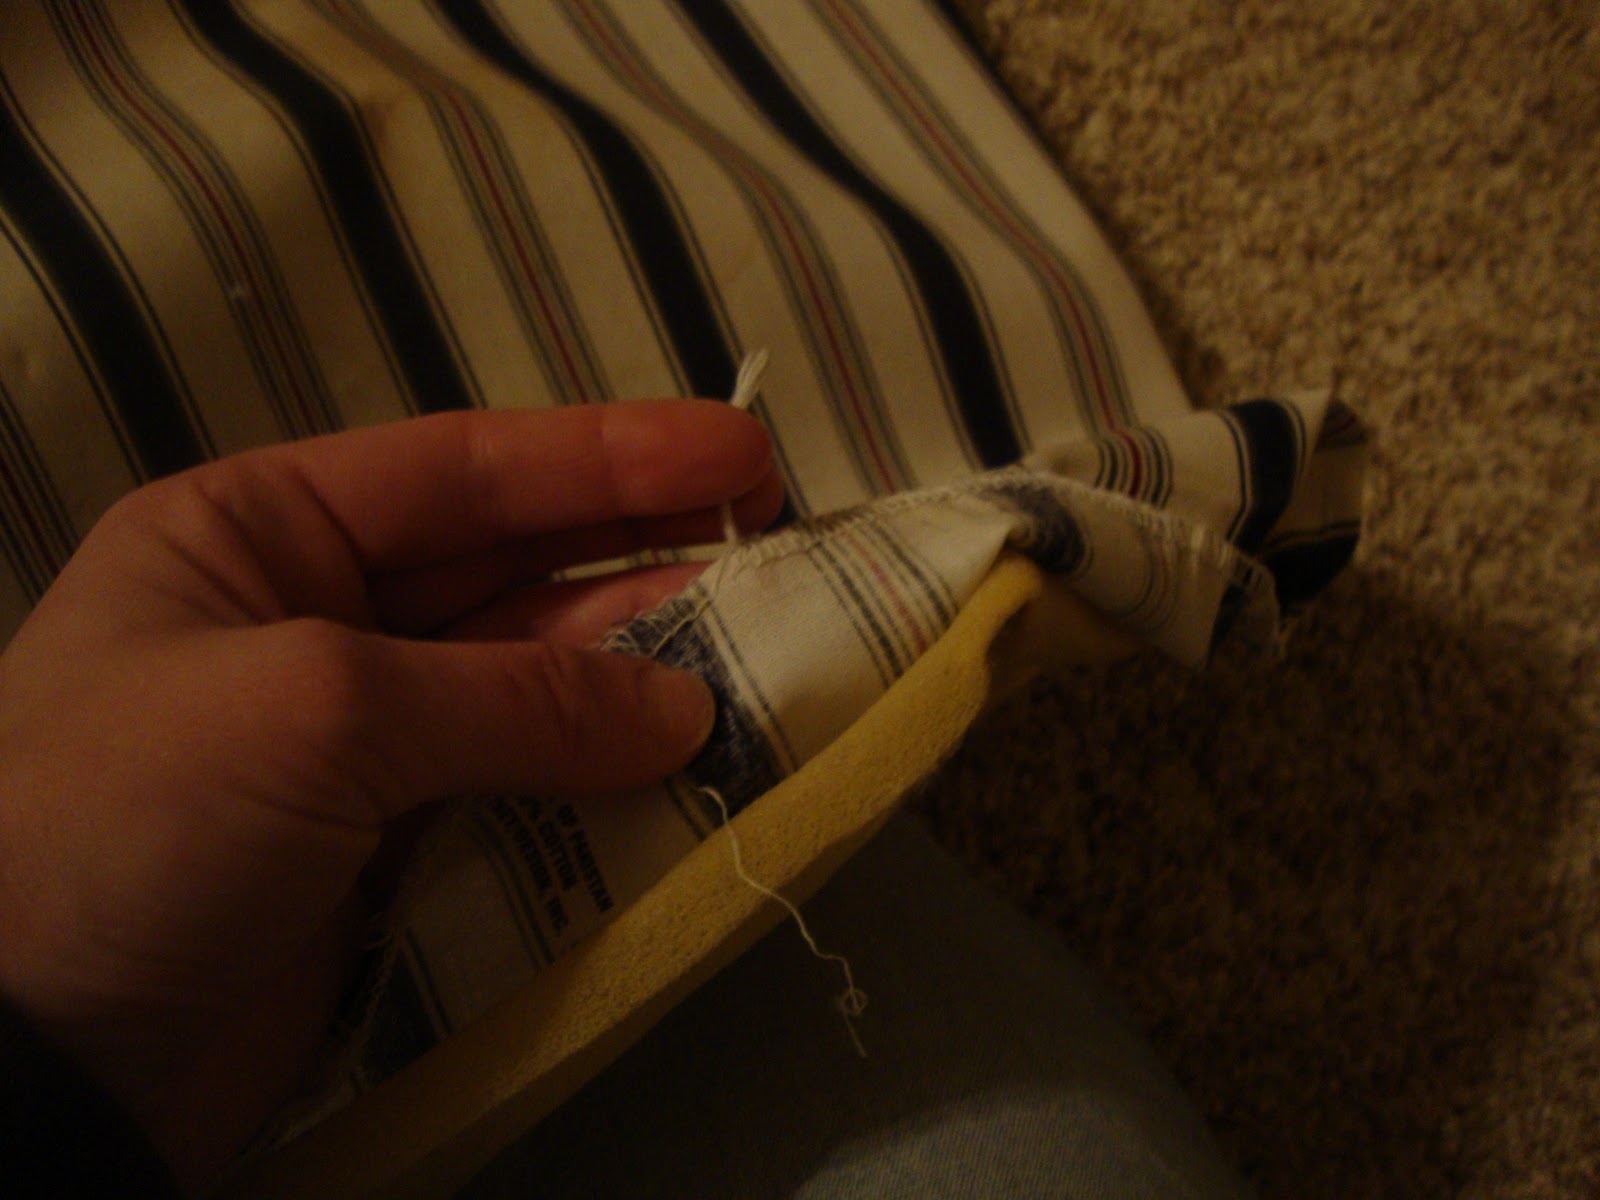
1. I should of used a wider zig zag

Because after I got done sewing the safety pin wouldn't fit through the threads, and I ended up having to use a needle, and it kept catching on the fabric. It took me a while to feed it all the way around that way.

2. I should of just put the string through the zig zag as I sewed so I wouldn't have to feed it through the whole thing.
After I finally got it all threaded. I set the padding and the cover on top the ironing board, and pulled the string and tightened it around the edges.
After I finally got it all threaded. I set the padding and the cover on top the ironing board, and pulled the string and tightened it around the edges.
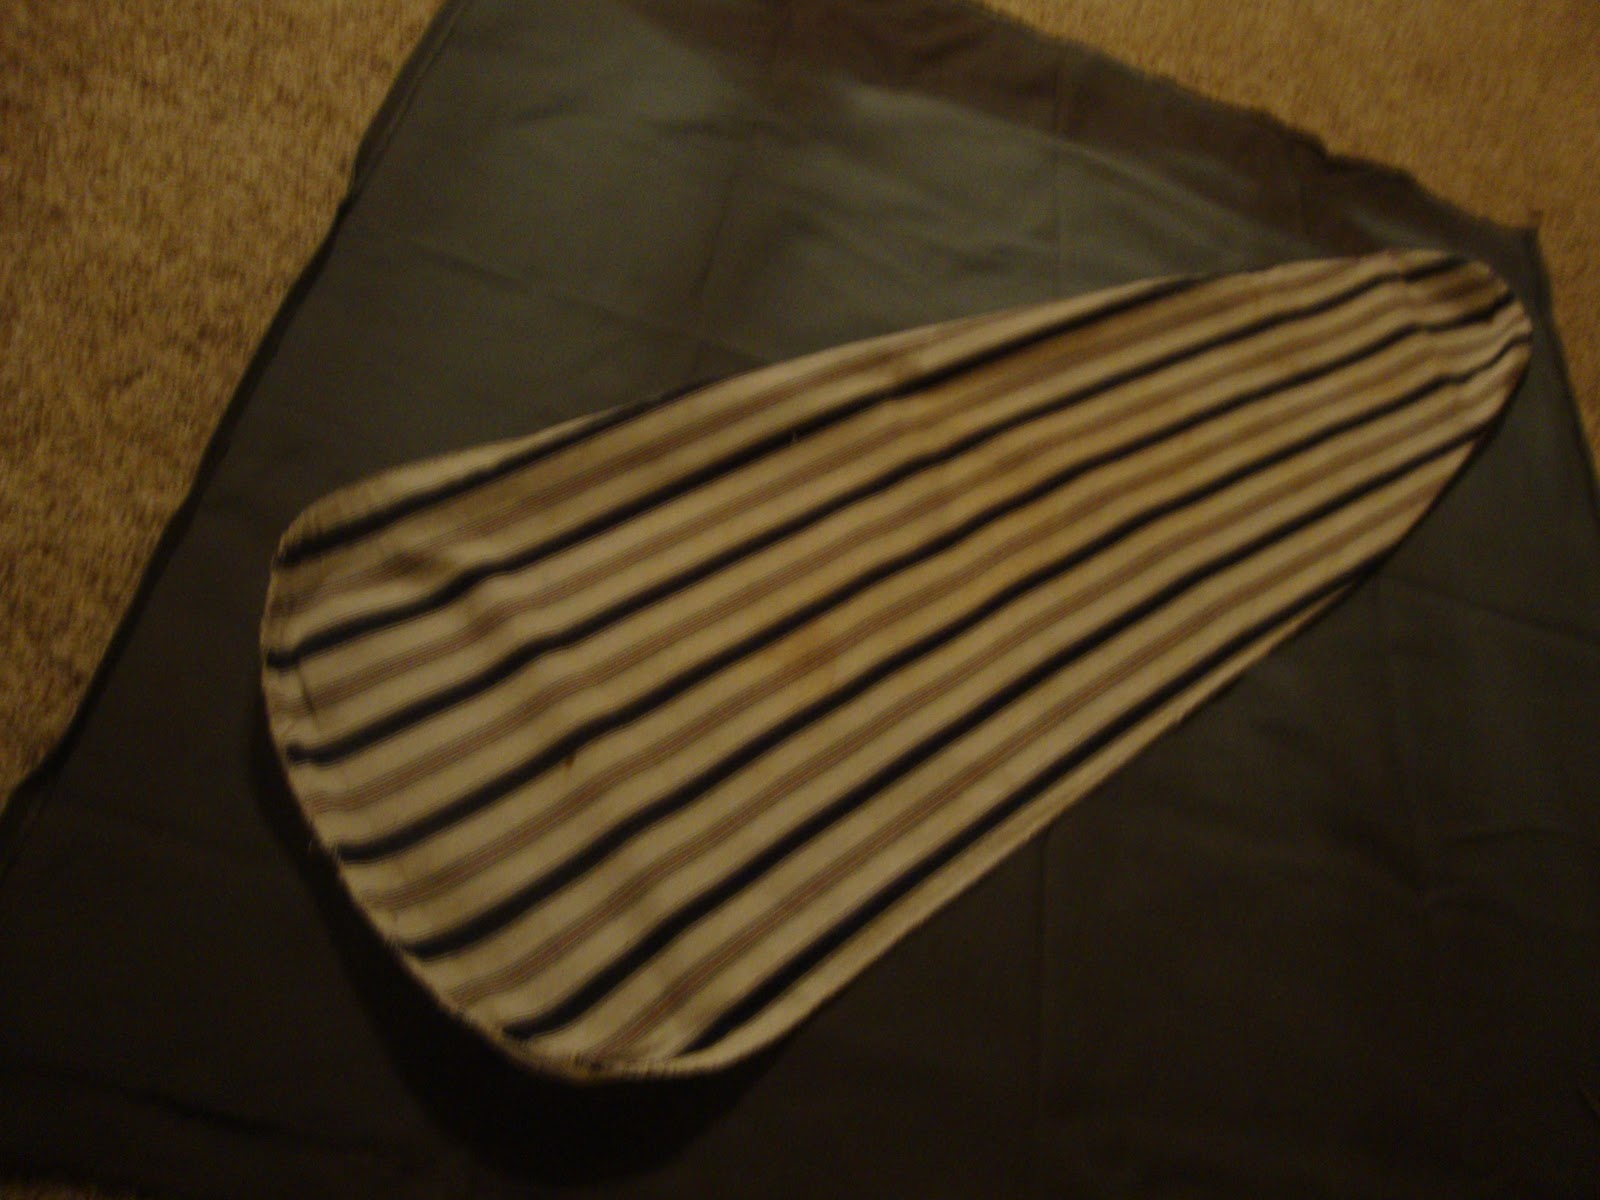
Despite my mishaps-it ended up working out and I love that it matches the laundry room!!


1 comment:
That turned out so great! I have always wondered how to do that! Thanks for sharing :)
Post a Comment